I like DIYing so I decided I'd make one. At school, we're not allowed to bring in any Christmas trees or lights (how neat would that be to light up the room?!), so I used cardstock poster and tissue paper. While my students worked on their wreaths, I'd work on the tree.
Step 1:
Free hand cut out a tree. I've been favoring free hand for my classroom projects as the "flaws" add character. To cut down on precious time, I had one posterboard over another to achieve two trees with one cut.

Step 2:
Then I made slits on both trees - one at the top half of the first tree, one at the bottom half of the second tree. Here, I did use a ruler and pencil to make sure it wouldn't be lopsided when I put it together.

Step 3:
To make sure it would stand, and that I didn't make any technical errors, I assembled my 3-D tree.

Step 4:
Use gluestick to adhere small, green tissue squares to each side, 4 in total. I worked bottom-up to create texture and movement.
Step 5:
Reassemble tree. Place gift exchange presents "under" the tree.

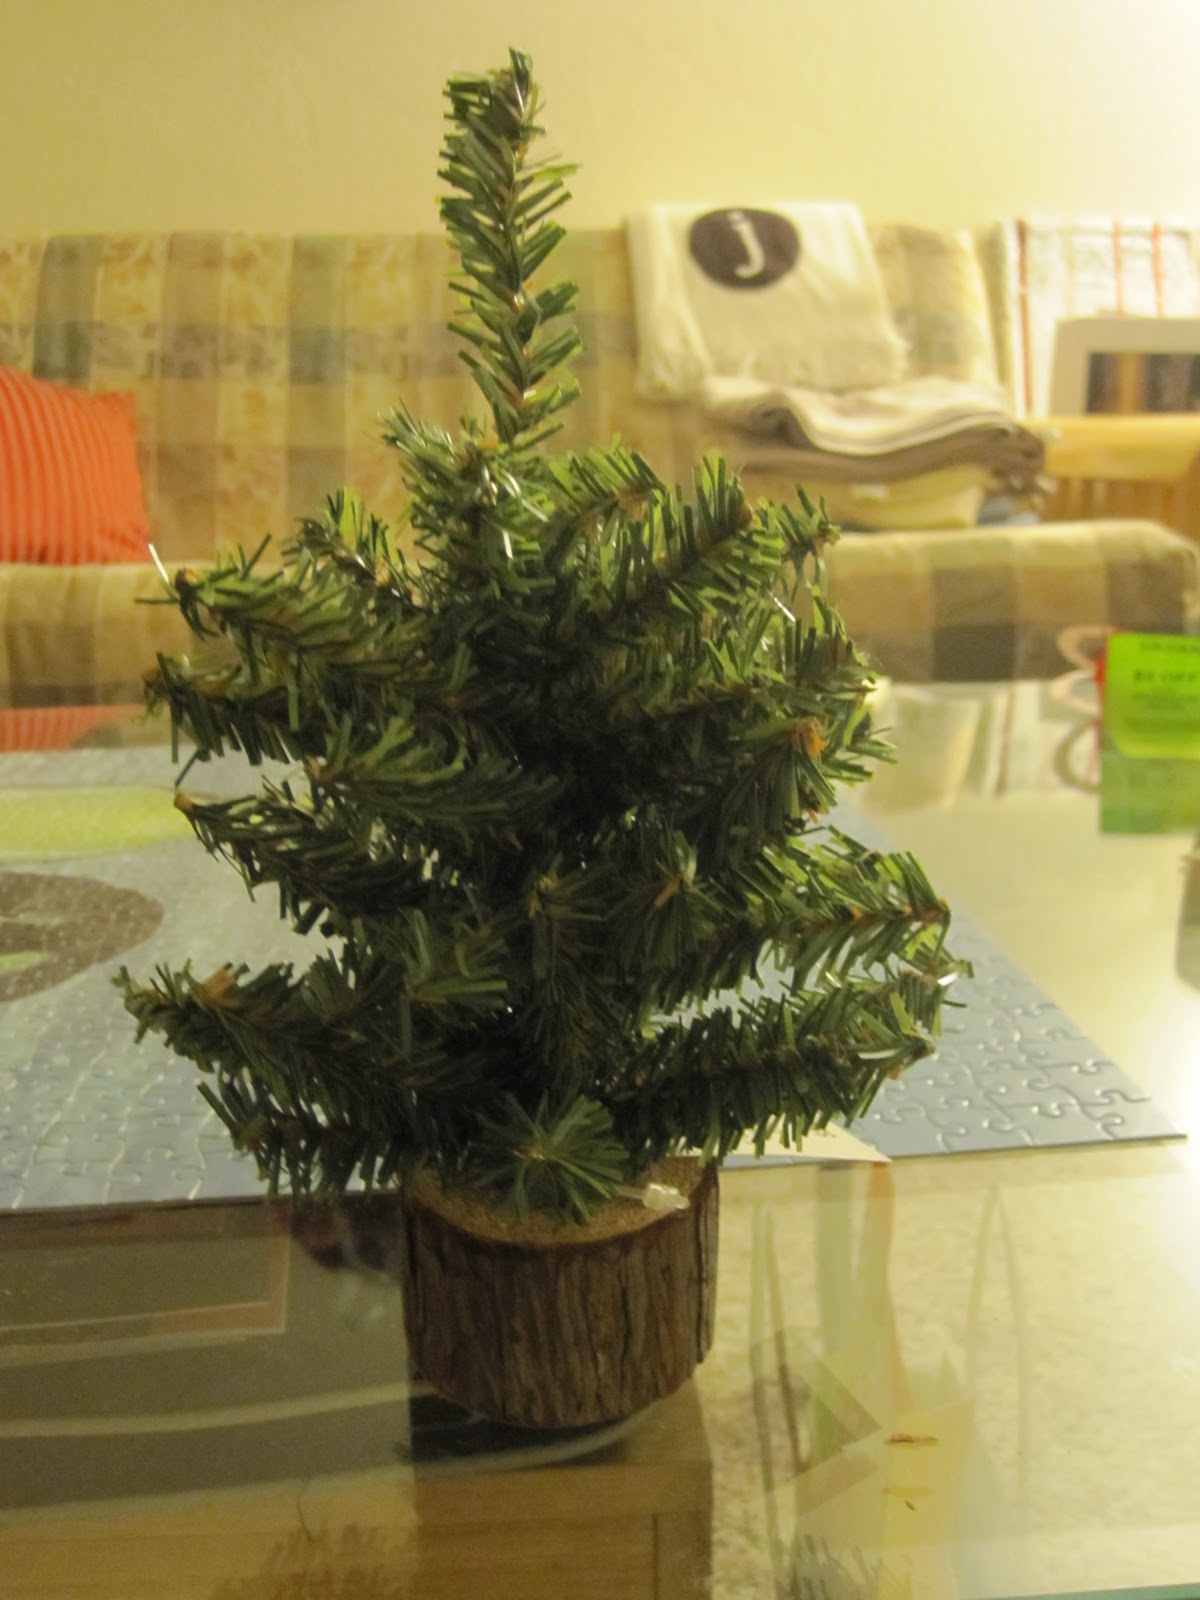
Then it made me sad that I had a Christmas tree to enjoy at school with my students and not with my hubby at our cozy home. That's when a trip to Beverly's turned out to be more than what I bargained for. I went to pick up some pin needles when a bin of the cutest rustic-looking trees caught my eye. With Mr. Woo's approval we snagged one of our liking and took it to the cashier to gleefully find out that it was on sale! The assembly of this tree was much simpler.
Step 1:
Scout a place for the tree. Place it there.

Step 2:
Fluff branches of tree to desired look.
Step 3:
Decorate with garland and/or ornaments.

Step 4:
Place any star of your choice on top.

O Christmas Tree, O Christmas Tree,
Your branches green delight us.
They are green when summer days are bright;
They are green when winter snow is white.
O Christmas Tree, O Christmas Tree,
Your branches green delight us!
Your branches green delight us.
They are green when summer days are bright;
They are green when winter snow is white.
O Christmas Tree, O Christmas Tree,
Your branches green delight us!
:)

2 comments:
nice star. hah
i love the witty final touch.
and your awesome classroom tree.
o tannenbaum!
Post a Comment